Elements Tree
Overview
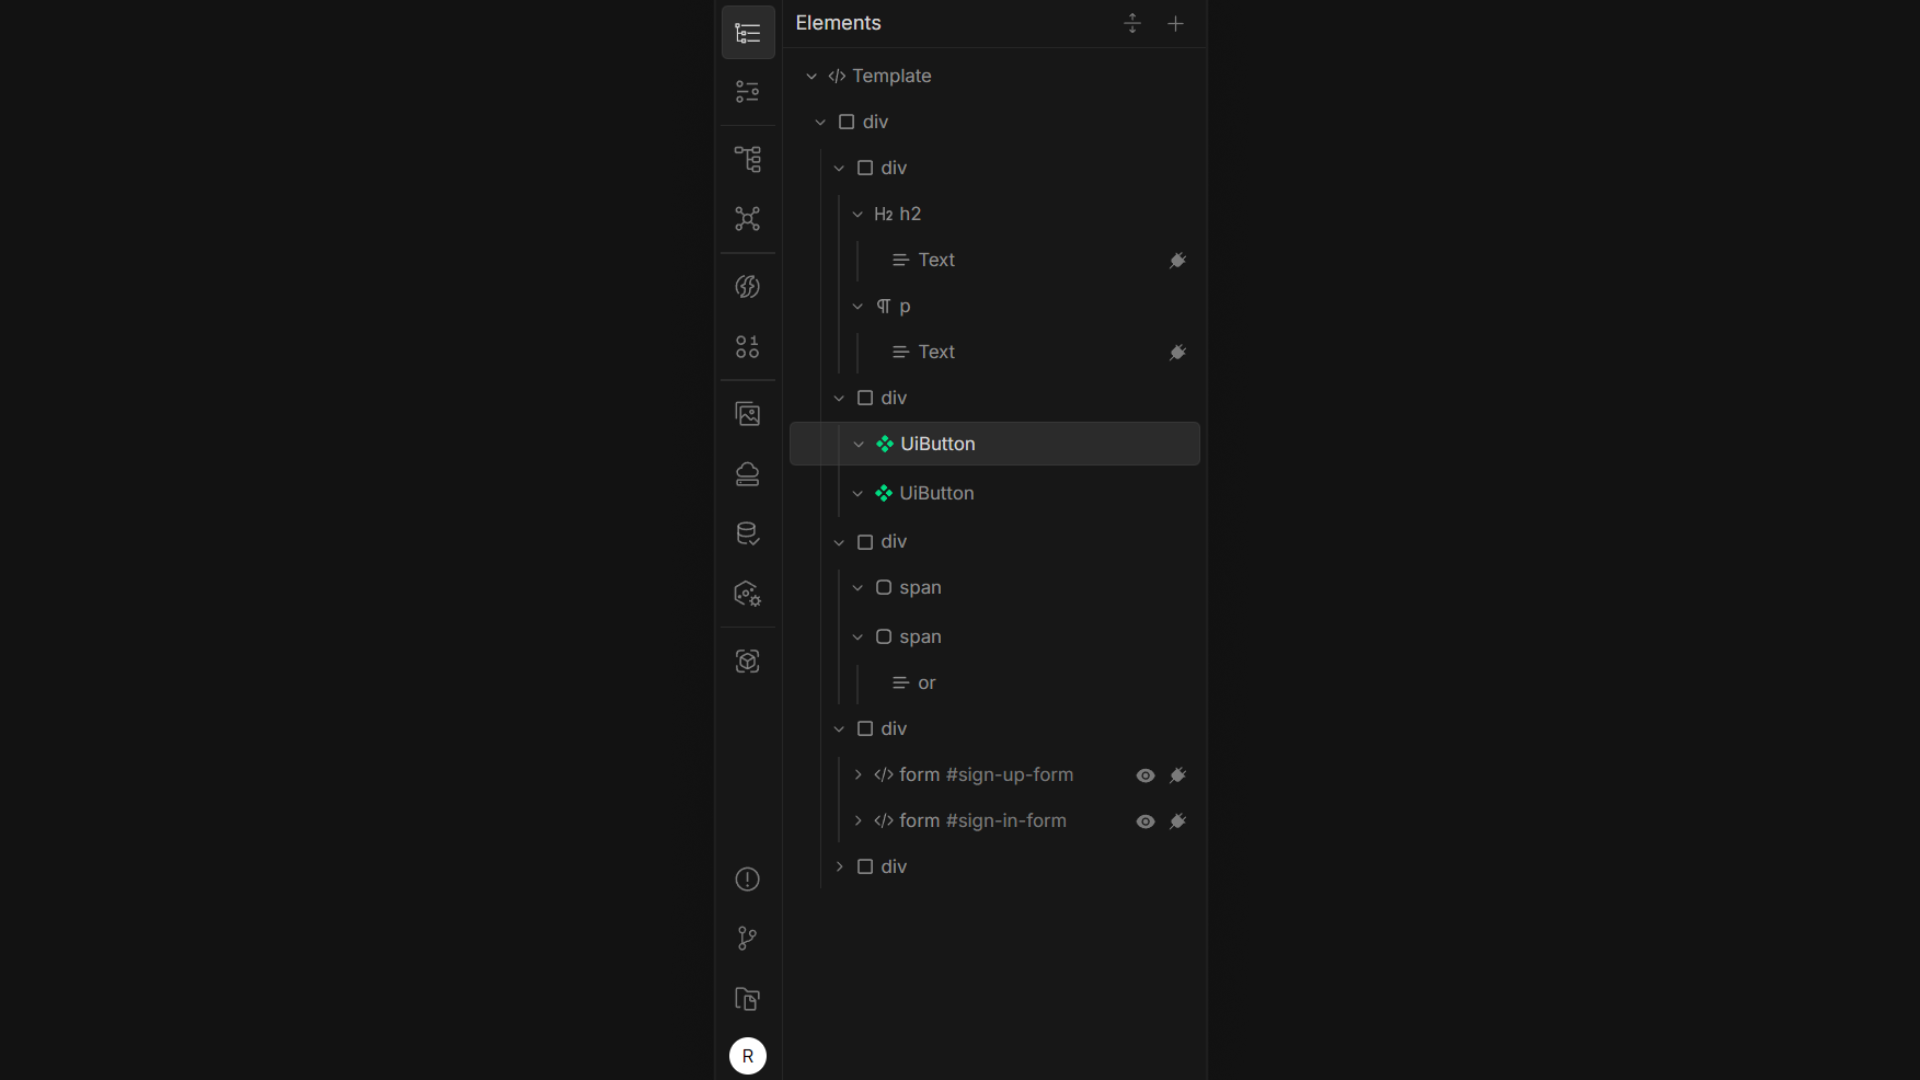 The Elements Tree visually represents the structure of your active project component. It allows you to rearrange elements through drag-and-drop, view the hierarchy of elements, and quickly access element-specific controls.
Adding Elements
To add new elements to the Elements Tree:
1. Open the Add Element Panel
Click the Plus Icon at the top right of the Elements Tree panel. This opens the Add Element Panel, displaying a list of elements you can add.
2. Choose an Element
- HTML Elements: The default view shows a range of HTML elements (like
div,section,button, etc.) that you can add to your component. - Components Tab: Toggle to the Components Tab at the top of the Add Element Panel to access built-in components and any project-specific components you’ve created.
- Search: Use the search bar at the top of the Add Element Panel to quickly find a specific HTML element or component by name.
3. Add an Element
- Click to Add: Click on any element in the Add Element Panel to add it directly to the Elements Tree.
- Drag and Drop: Alternatively, drag an element from the Add Element Panel and drop it at your desired location within the Elements Tree to precisely control where it appears in the structure.
Tip: You can paste raw HTML or Tailwind component code directly into nooku. Copy the HTML code from any source, then press
Ctrl + Vwithin the Elements Tree. nooku will parse the code and add it to your project structure automatically.
Expand/Collapse Elements Tree
 Next to the Plus icon, there is an Expand/Collapse Icon. Click it to expand or collapse elements.
- Expand All: Clicking the icon once expands all nested elements within the tree, displaying the entire structure.
- Collapse All: Clicking the icon again collapses all elements back to the root level, hiding nested elements for a cleaner view.
Right-Click Context Menu
Right-clicking any element in the Elements Tree opens a Context Menu. This menu provides the same options as the Canvas context menu, allowing you to manage elements.