Installation
This guide will walk you through the steps required to install Nooku on your desktop. Follow the steps below to get started.
Step 1: Sign Up for a Nooku Account
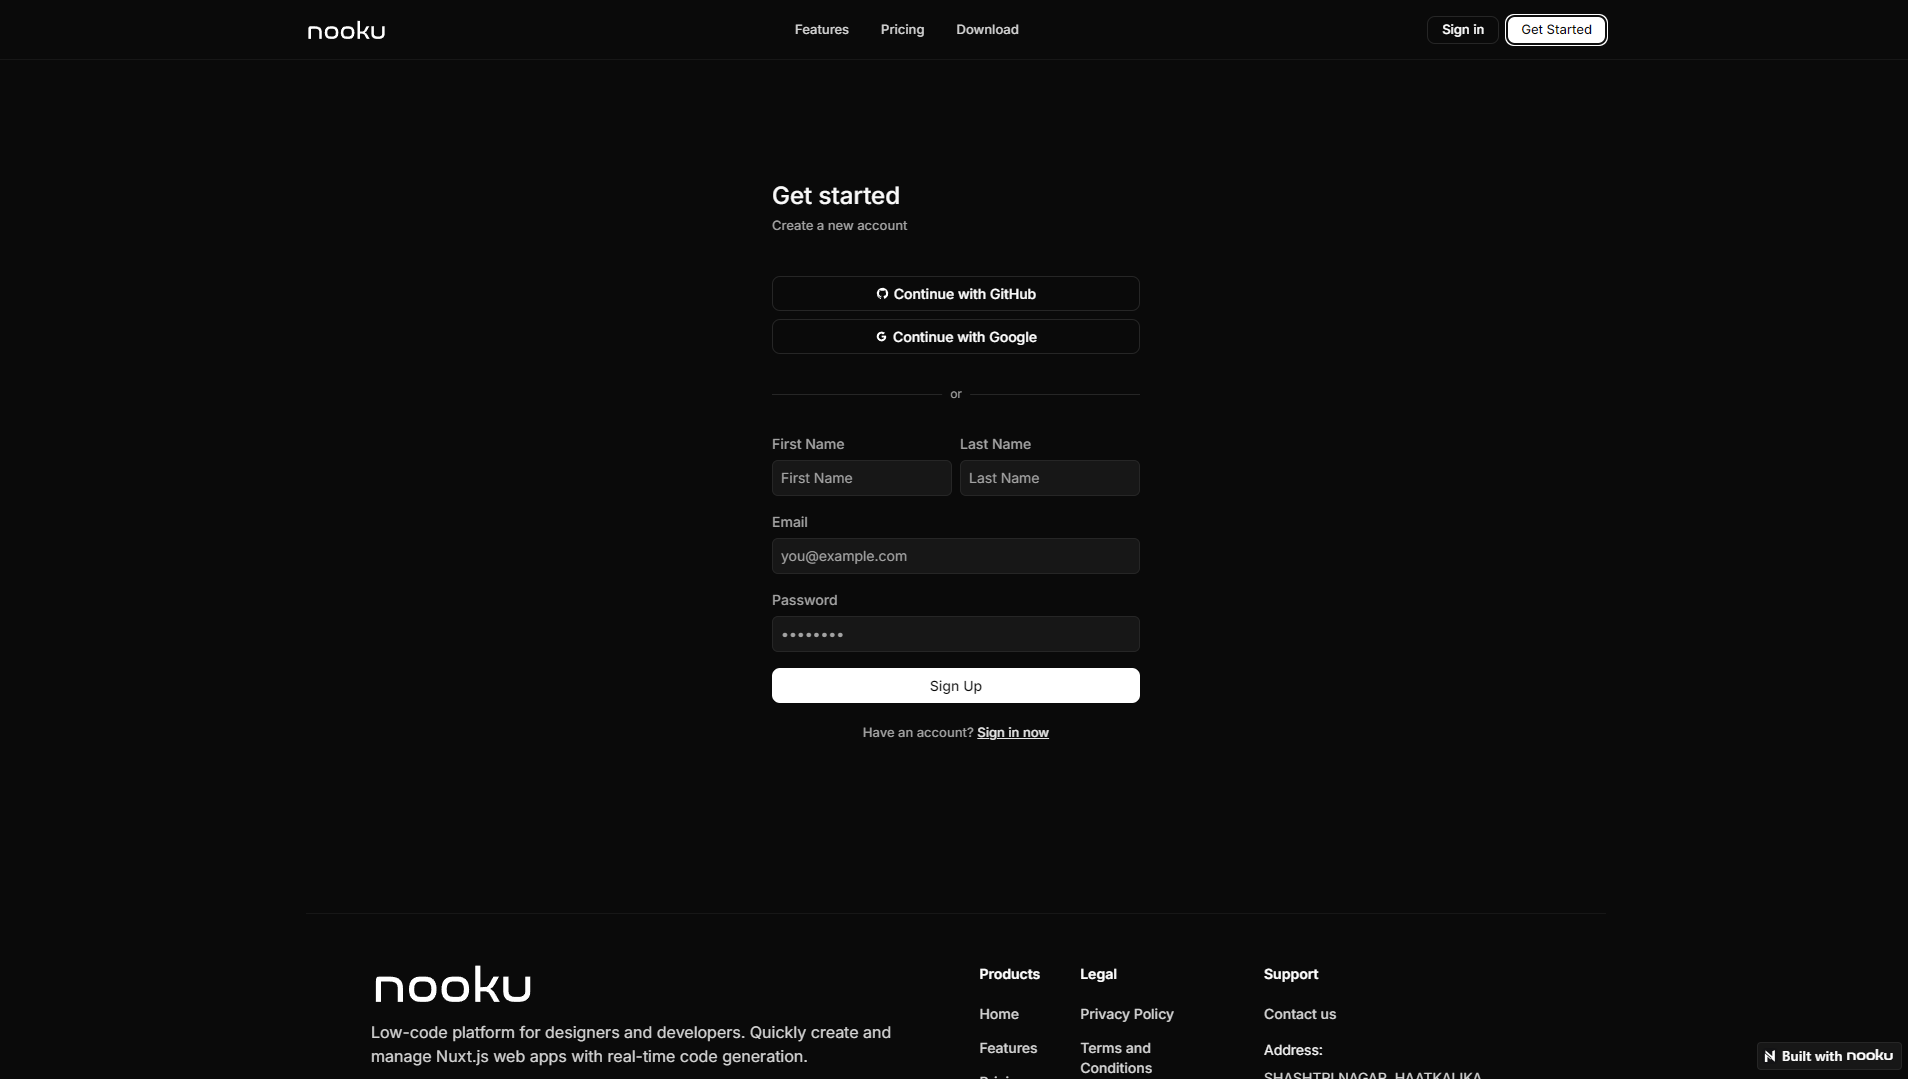
- If you don’t have an account yet, visit the Sign up page and create one by following the registration process.
- Once registered, sign in with your account credentials.
Step 2: Download Nooku
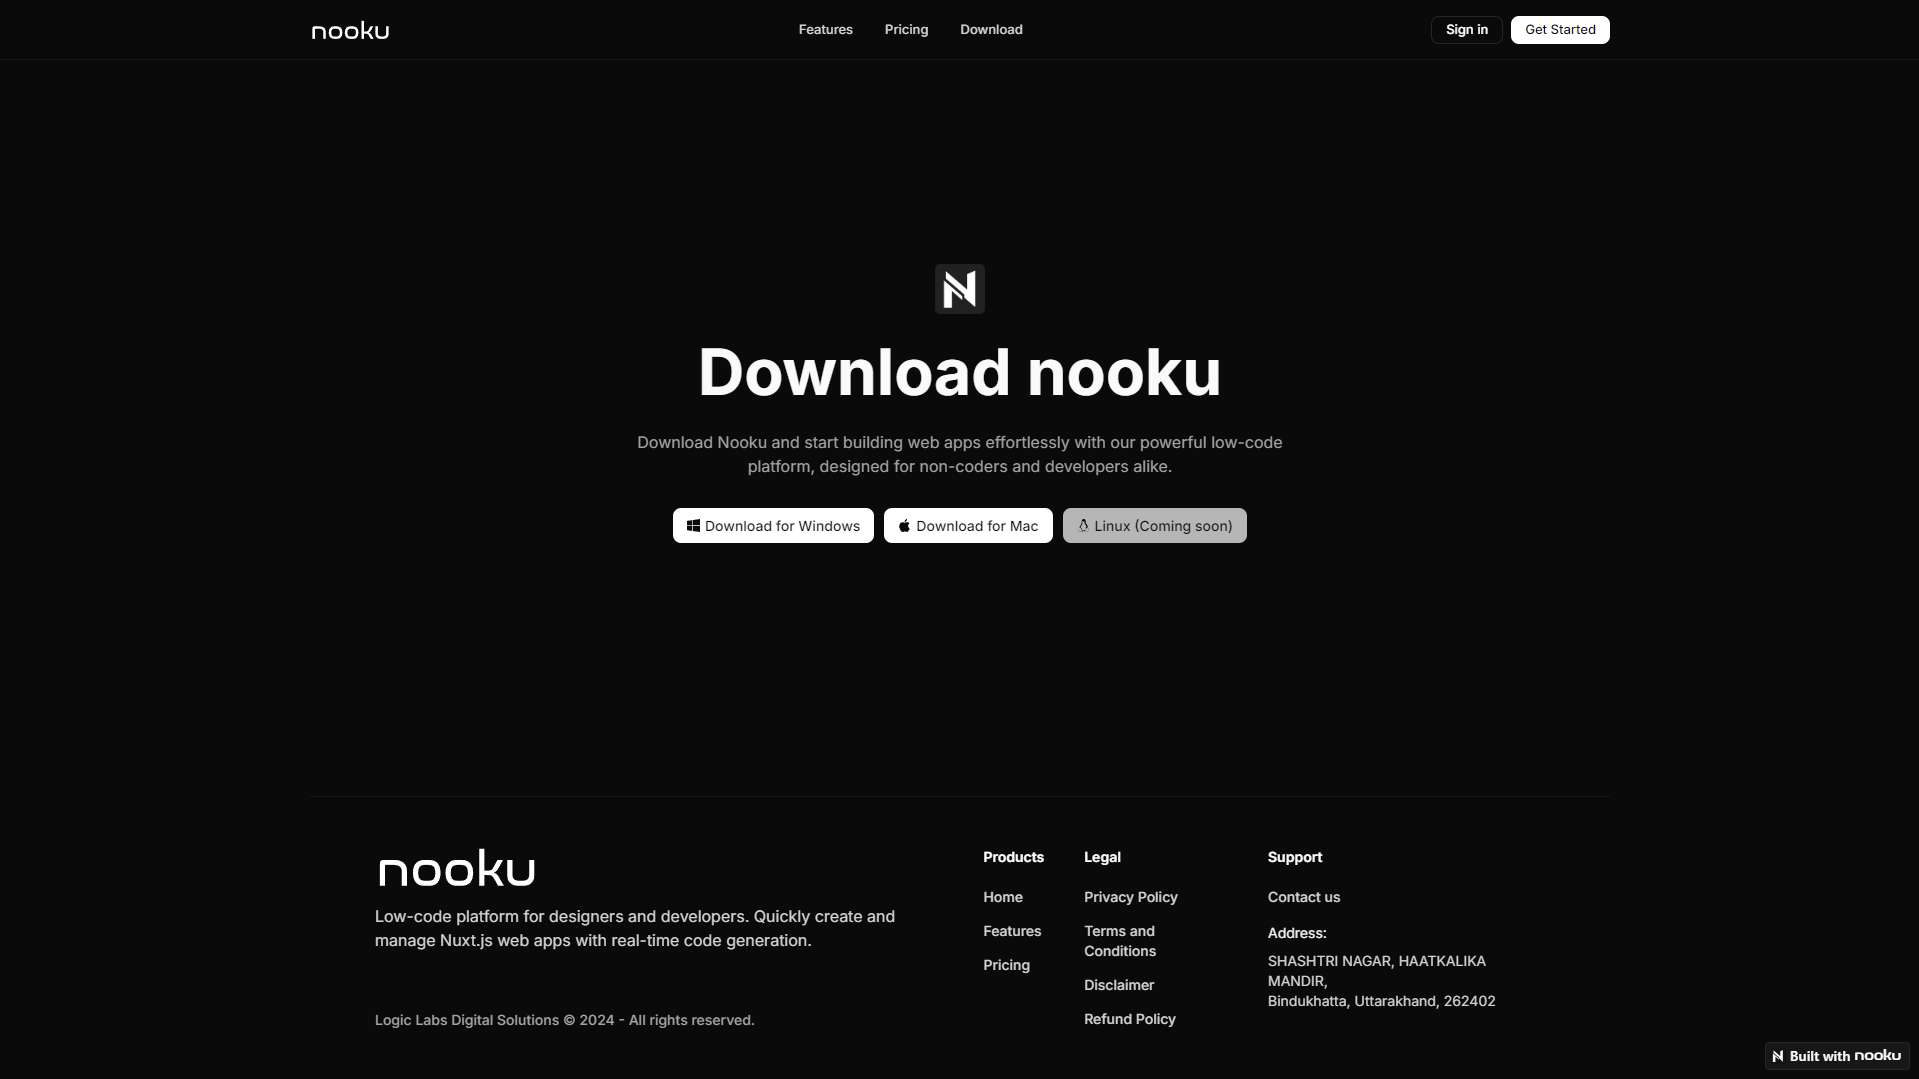
- After signing in, head to the Download page.
- Click the download button to get the Nooku desktop application for your operating system.
- The application will begin downloading. Once complete, locate the downloaded file to proceed with the installation.
Step 3: Install Nooku
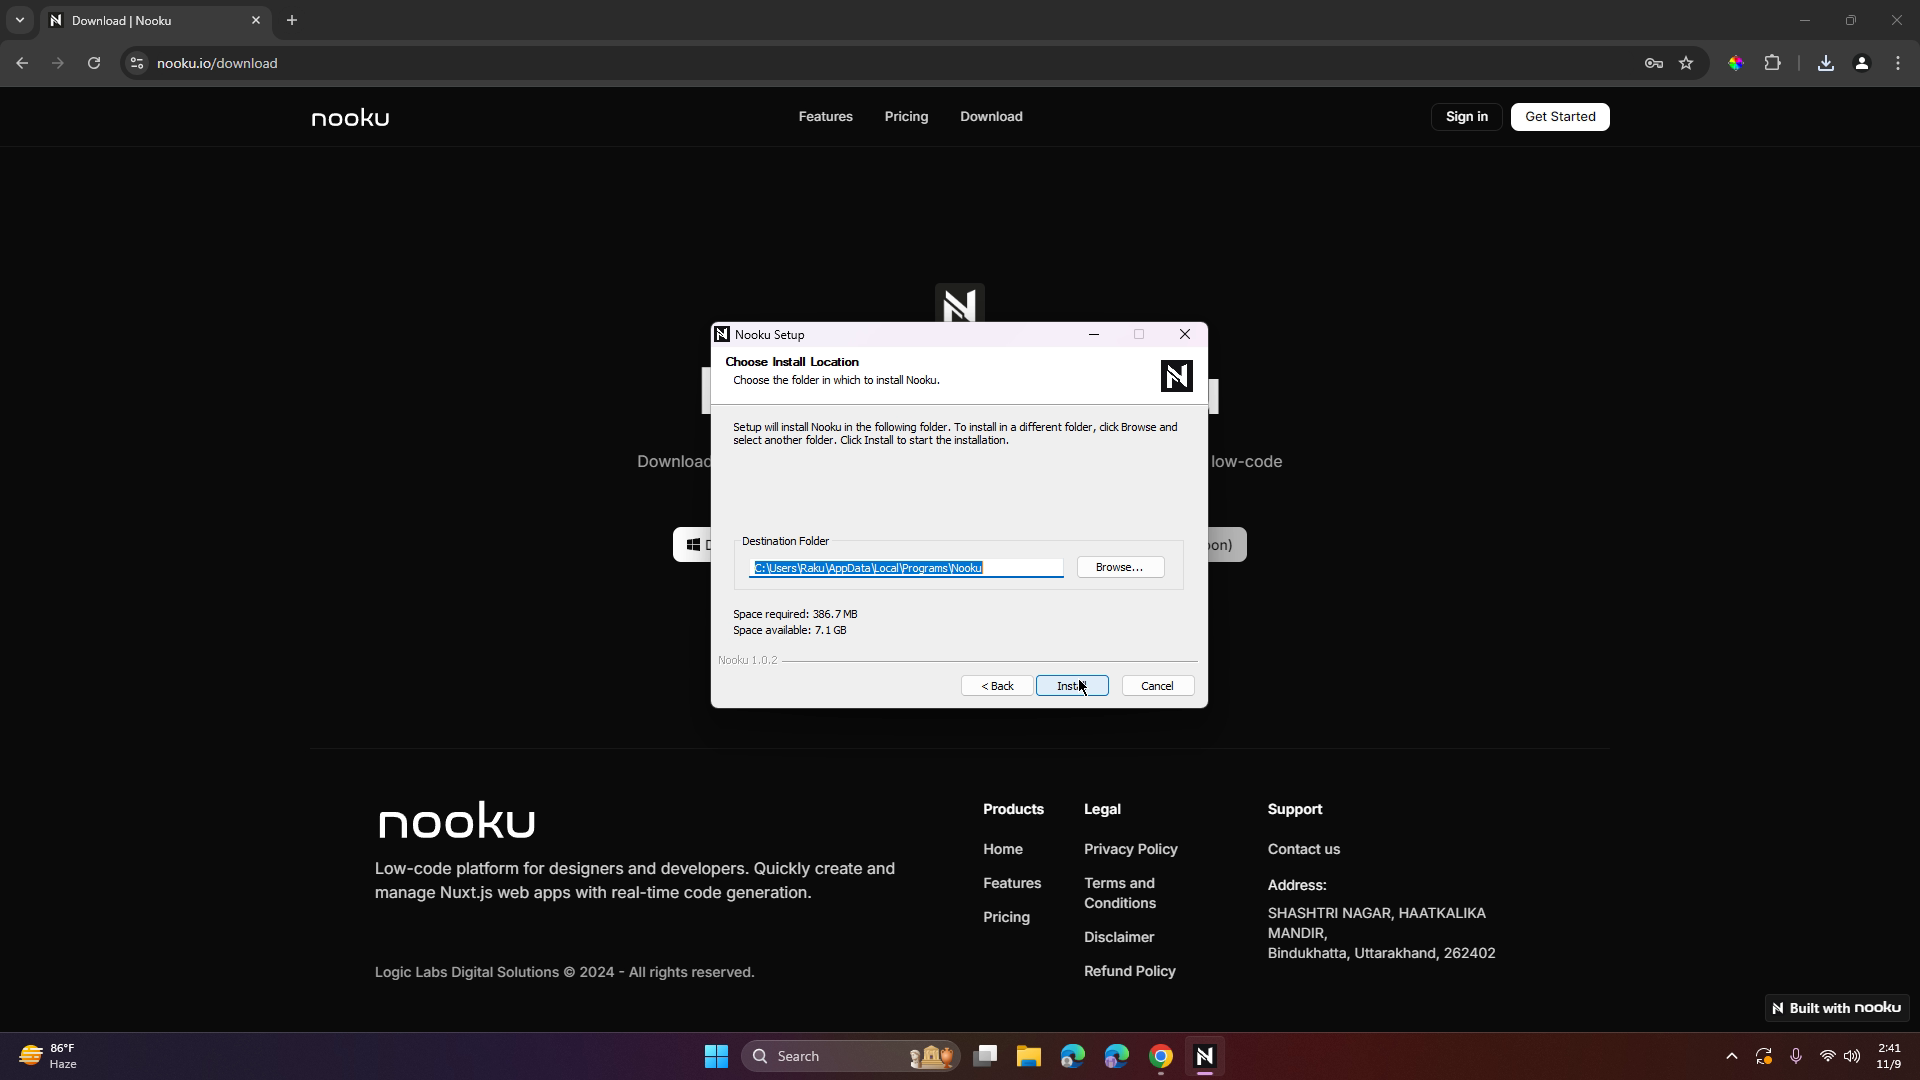
- Locate the downloaded installer and run the file.
- Follow the on-screen instructions to install Nooku, just like you would for any other software.
- Once installed, launch the Nooku desktop application.
Step 4: Sign In to Nooku
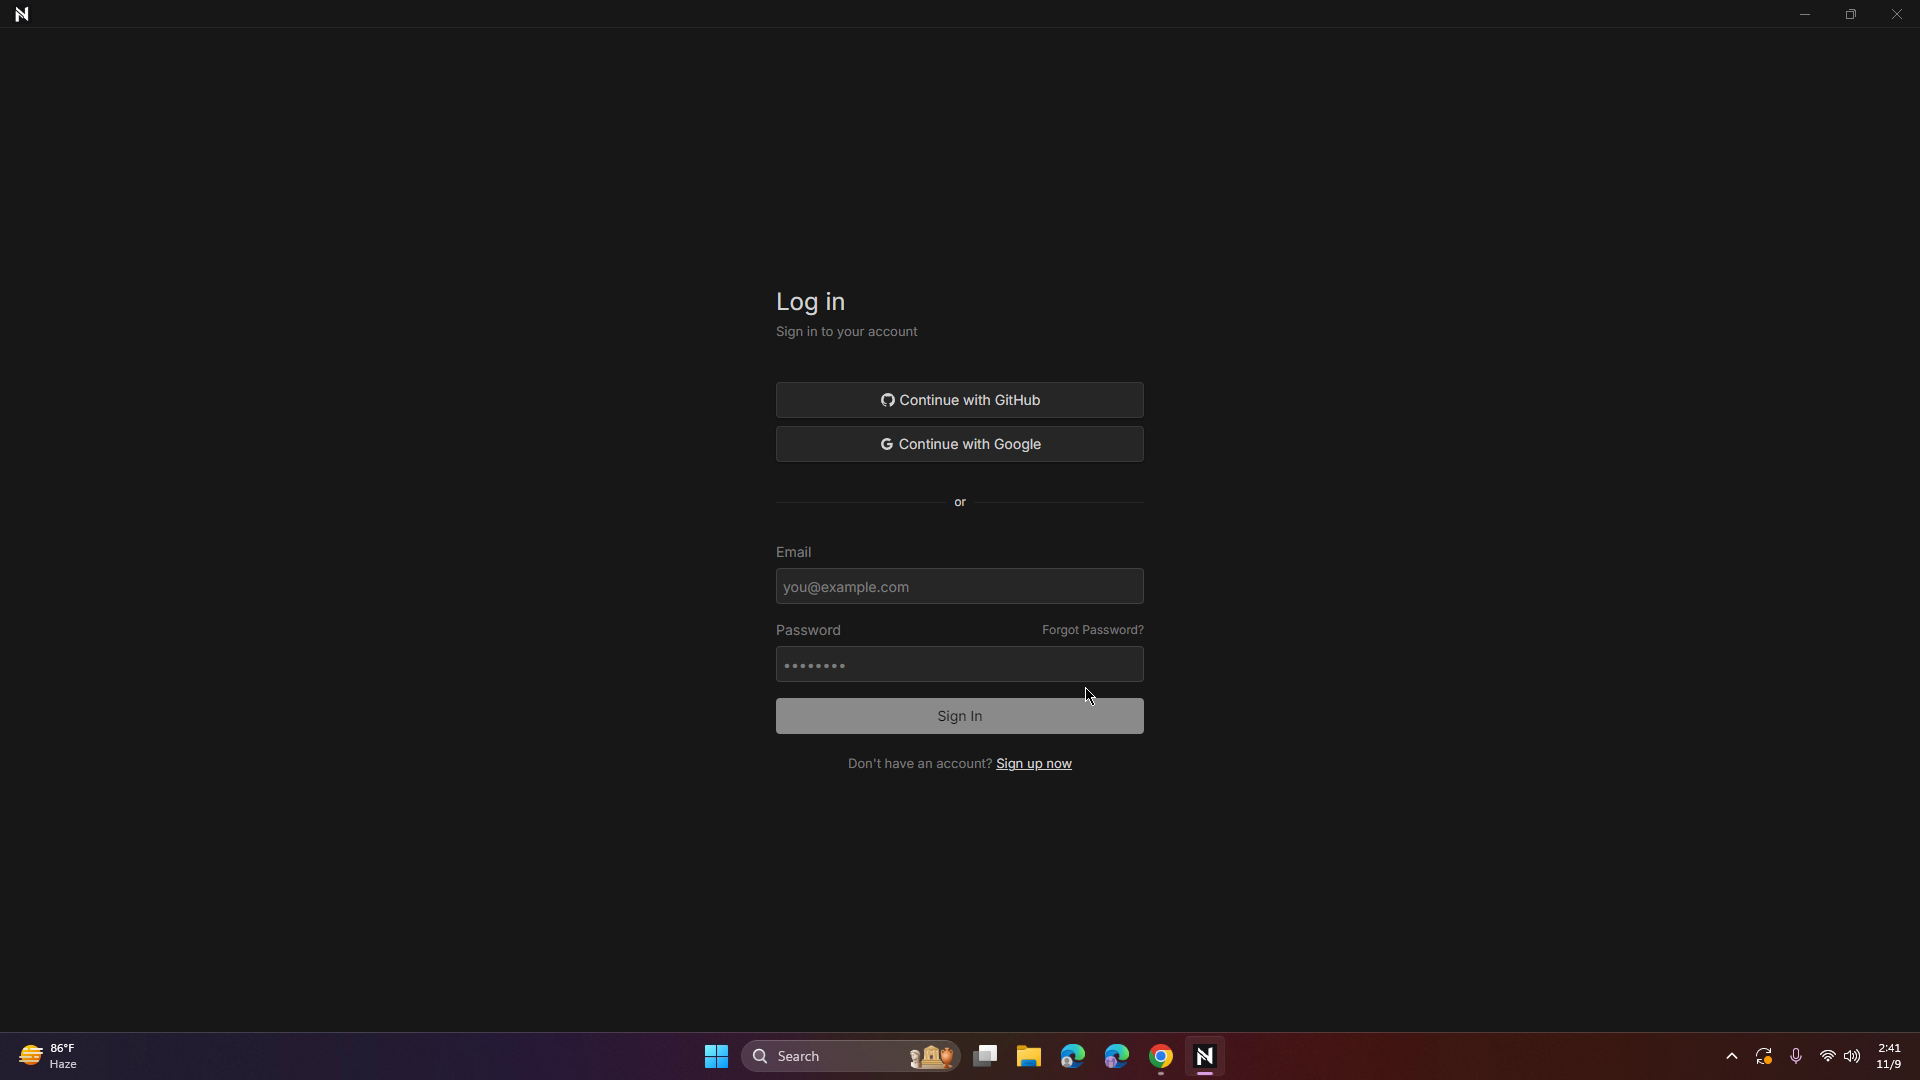
- When you first launch Nooku, you’ll be prompted to sign in.
- Enter the credentials you used when creating your account.
- If you have not installed Node.js and Git on your system, Nooku will guide you through the installation process.
Step 5: Install Node.js and Git (if required)
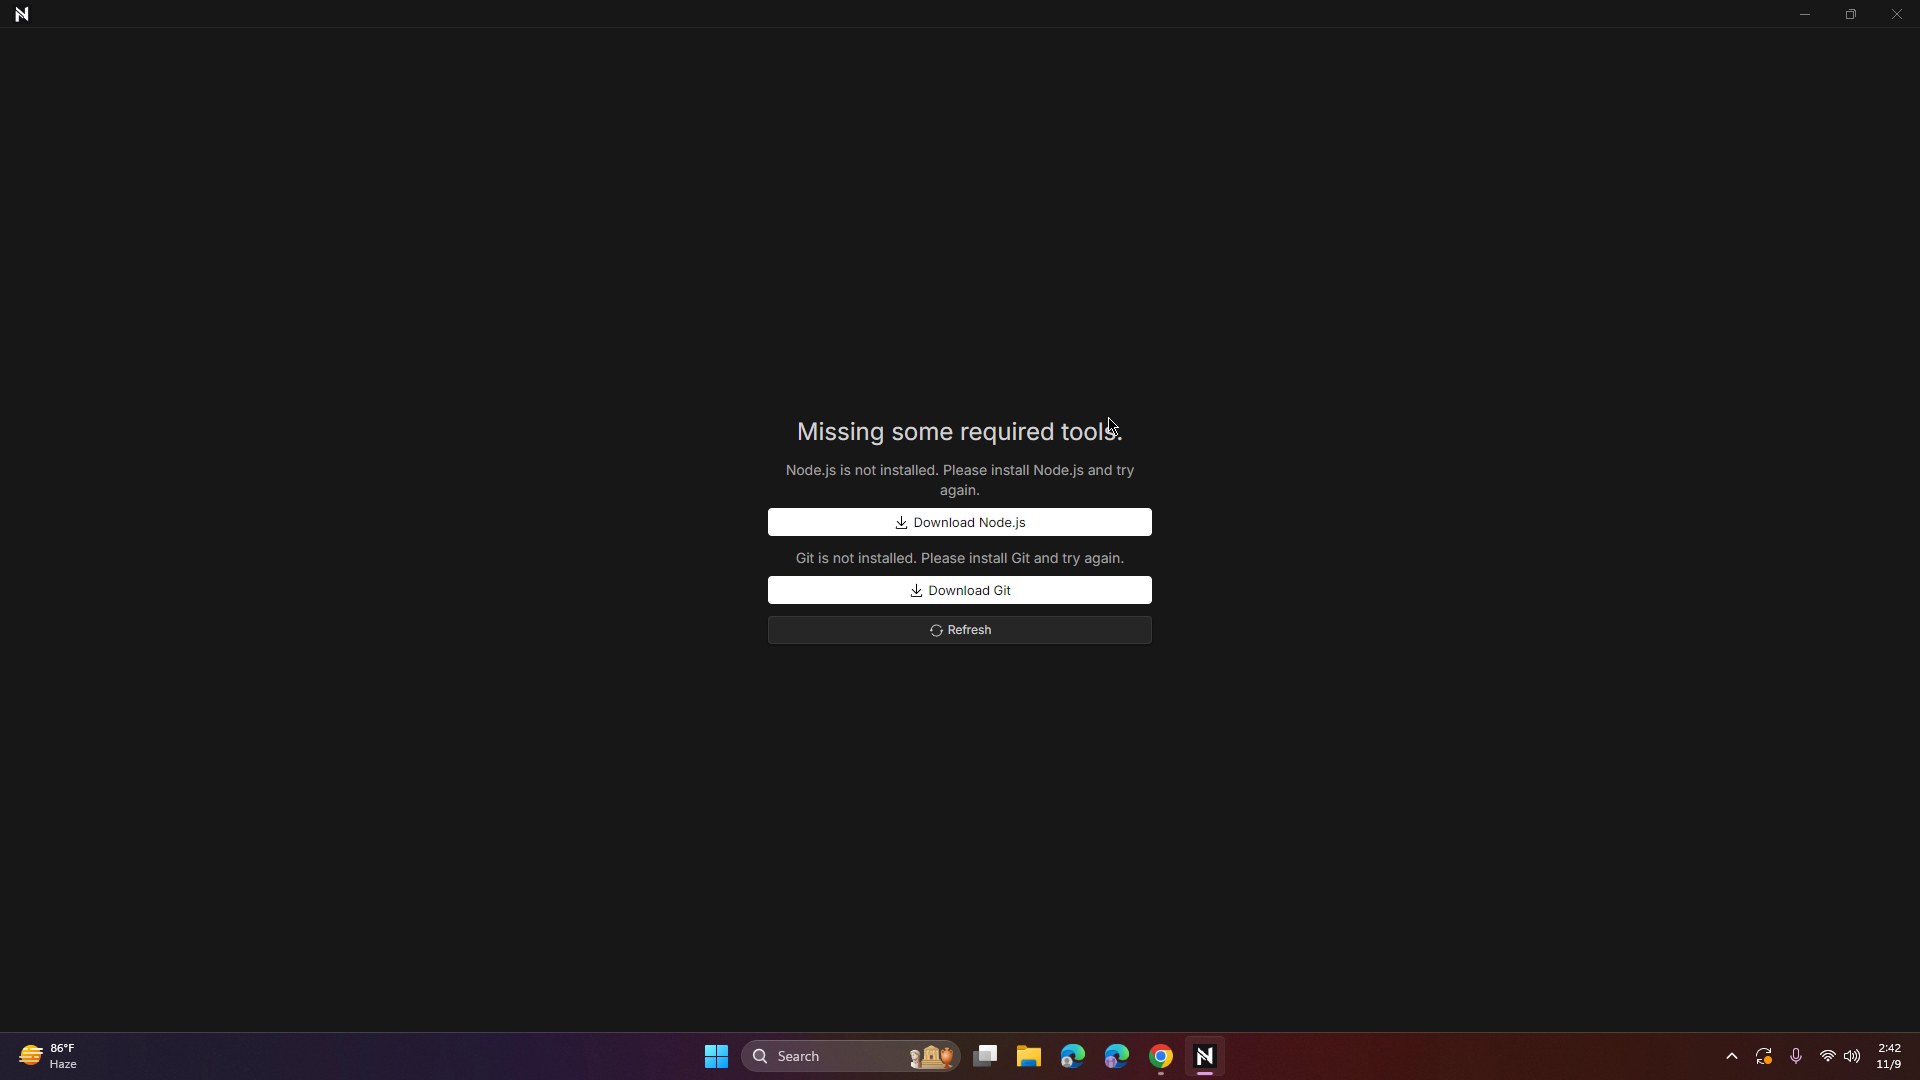
- If prompted to install Node.js, download the latest version from Node.js official website. After downloading, run the installer and complete the setup.
- Similarly, if Git is not installed on your machine, download the Git installer from Git official website, and install it.
Note: Nooku requires both Node.js and Git for project management and version control.
Step 6: Refresh and Start Using Nooku
- Once Node.js and Git are installed, refresh/restart the Nooku application.
- After restart, you will be redirected to the Nooku dashboard, where you can view your projects, profile, and other available options.
You're Ready to Build!
Now that your environment is set up, you can begin building your web application using Nooku. Enjoy creating your first project!