Creating A New Project
Steps to Create a New Project
1. Access the Nooku Dashboard
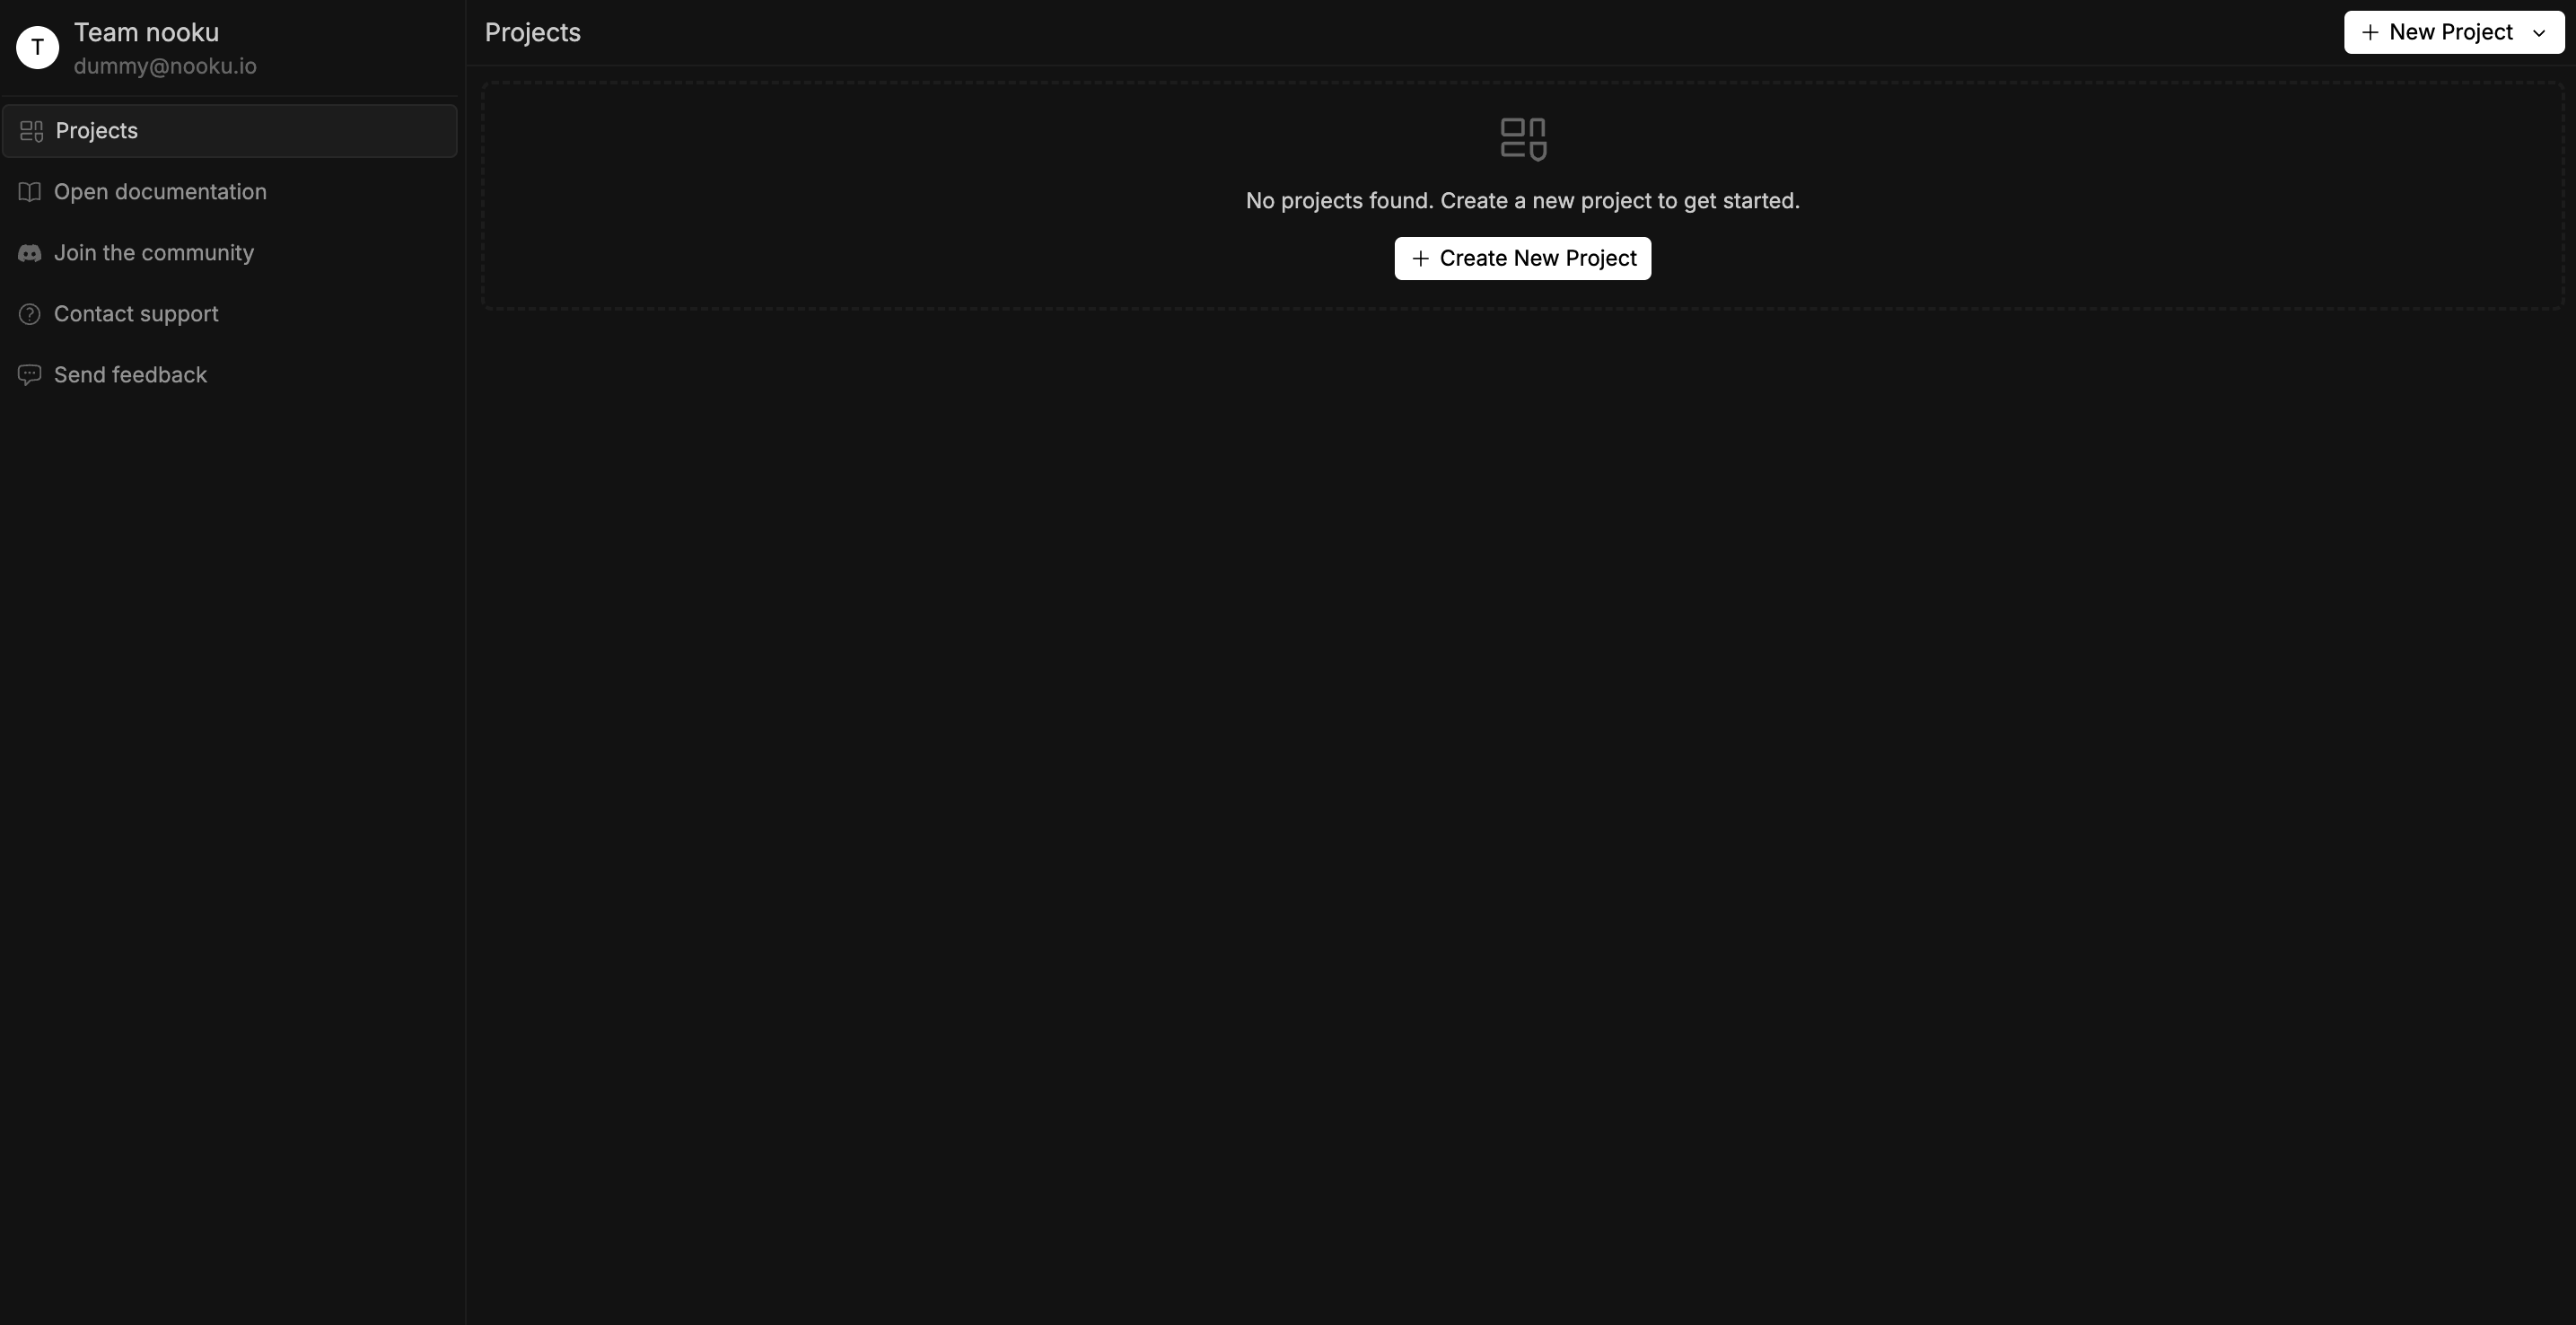 Once you open Nooku, you’ll land on the dashboard. This is the starting point for managing and creating projects.
2. Click "New Project"
On the dashboard’s top right corner, locate and click the New Project button. You’ll see three options:
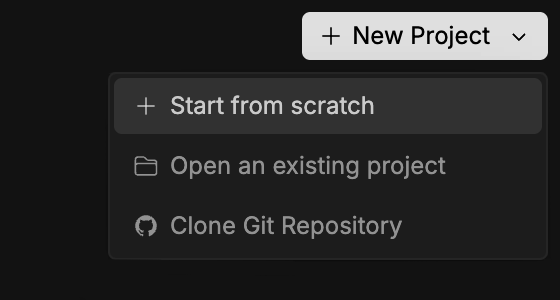
- Start from scratch: Start from scratch with a new project.
- Open existing project: Load an existing project from your computer.
- Clone git repository: Import a project by cloning it from a Git repository.
For this guide, we’ll choose Start a Blank Project to build a project from scratch.
3. Name and Save Your Project
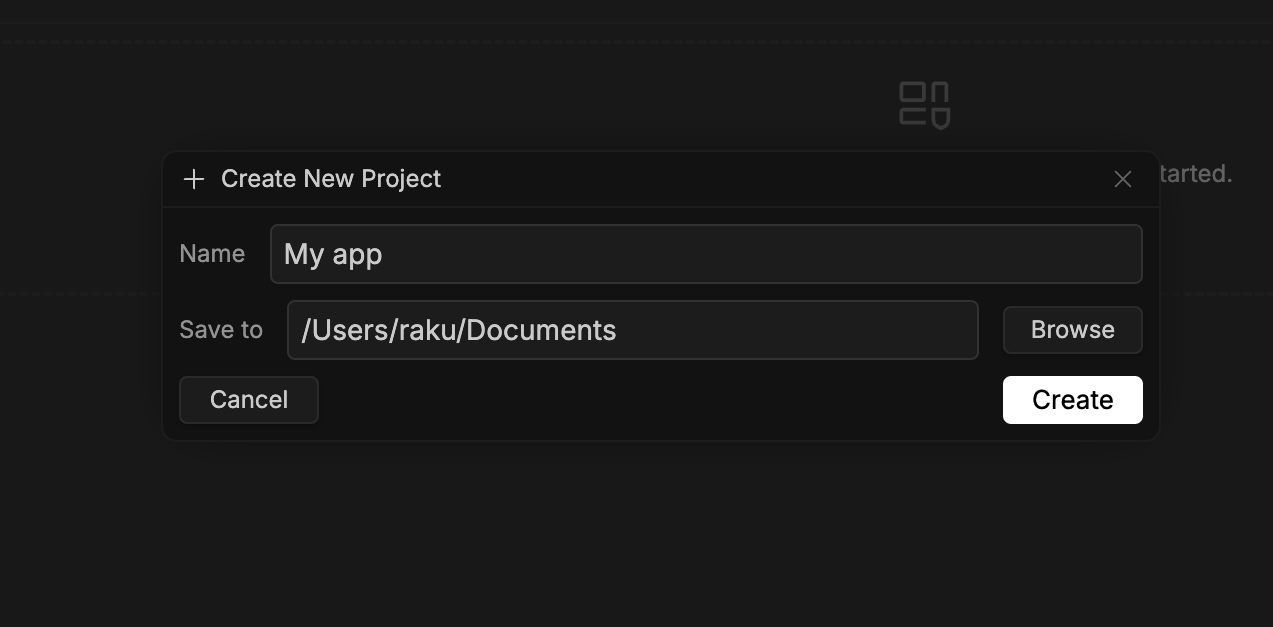
- Project Name: Enter a name for your project, such as “My App.”
- Save Location: Select the folder where you want to save your project on your computer.
Once you’ve entered the name and selected the location, click Create to initialize the project.
4. Project Initialization
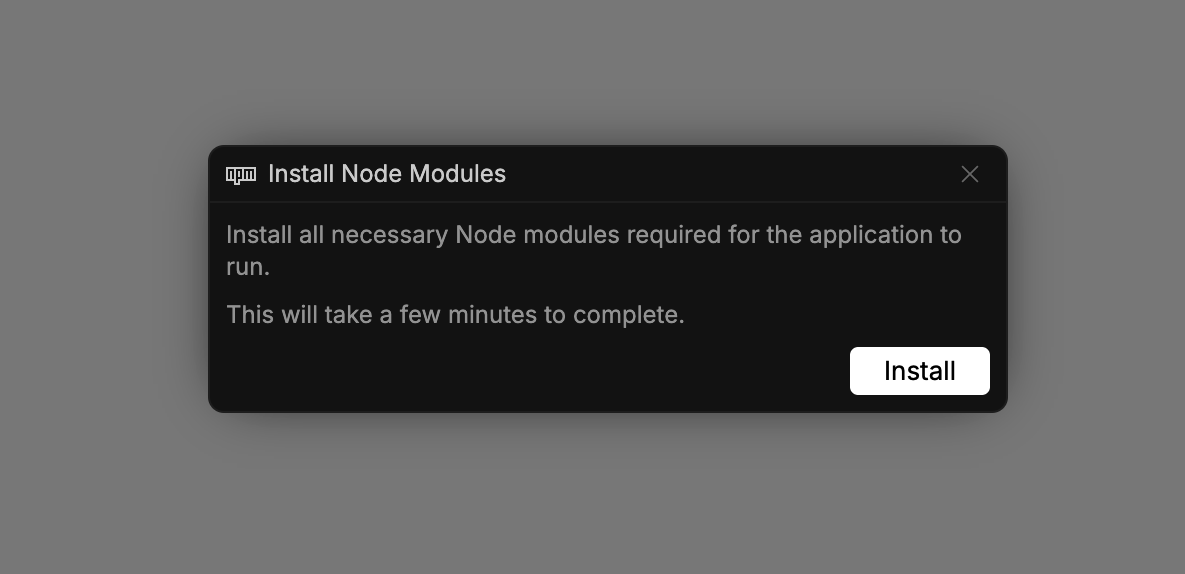 After the project has been created, you will be redirected to the editor, where a popup will appear prompting you to install the necessary Node modules. Click the Install button to start the installation. This process may take a few minutes, depending on your internet speed and system performance.
Once the installation is complete, your project’s homepage will load automatically in the editor.
5. Start Building
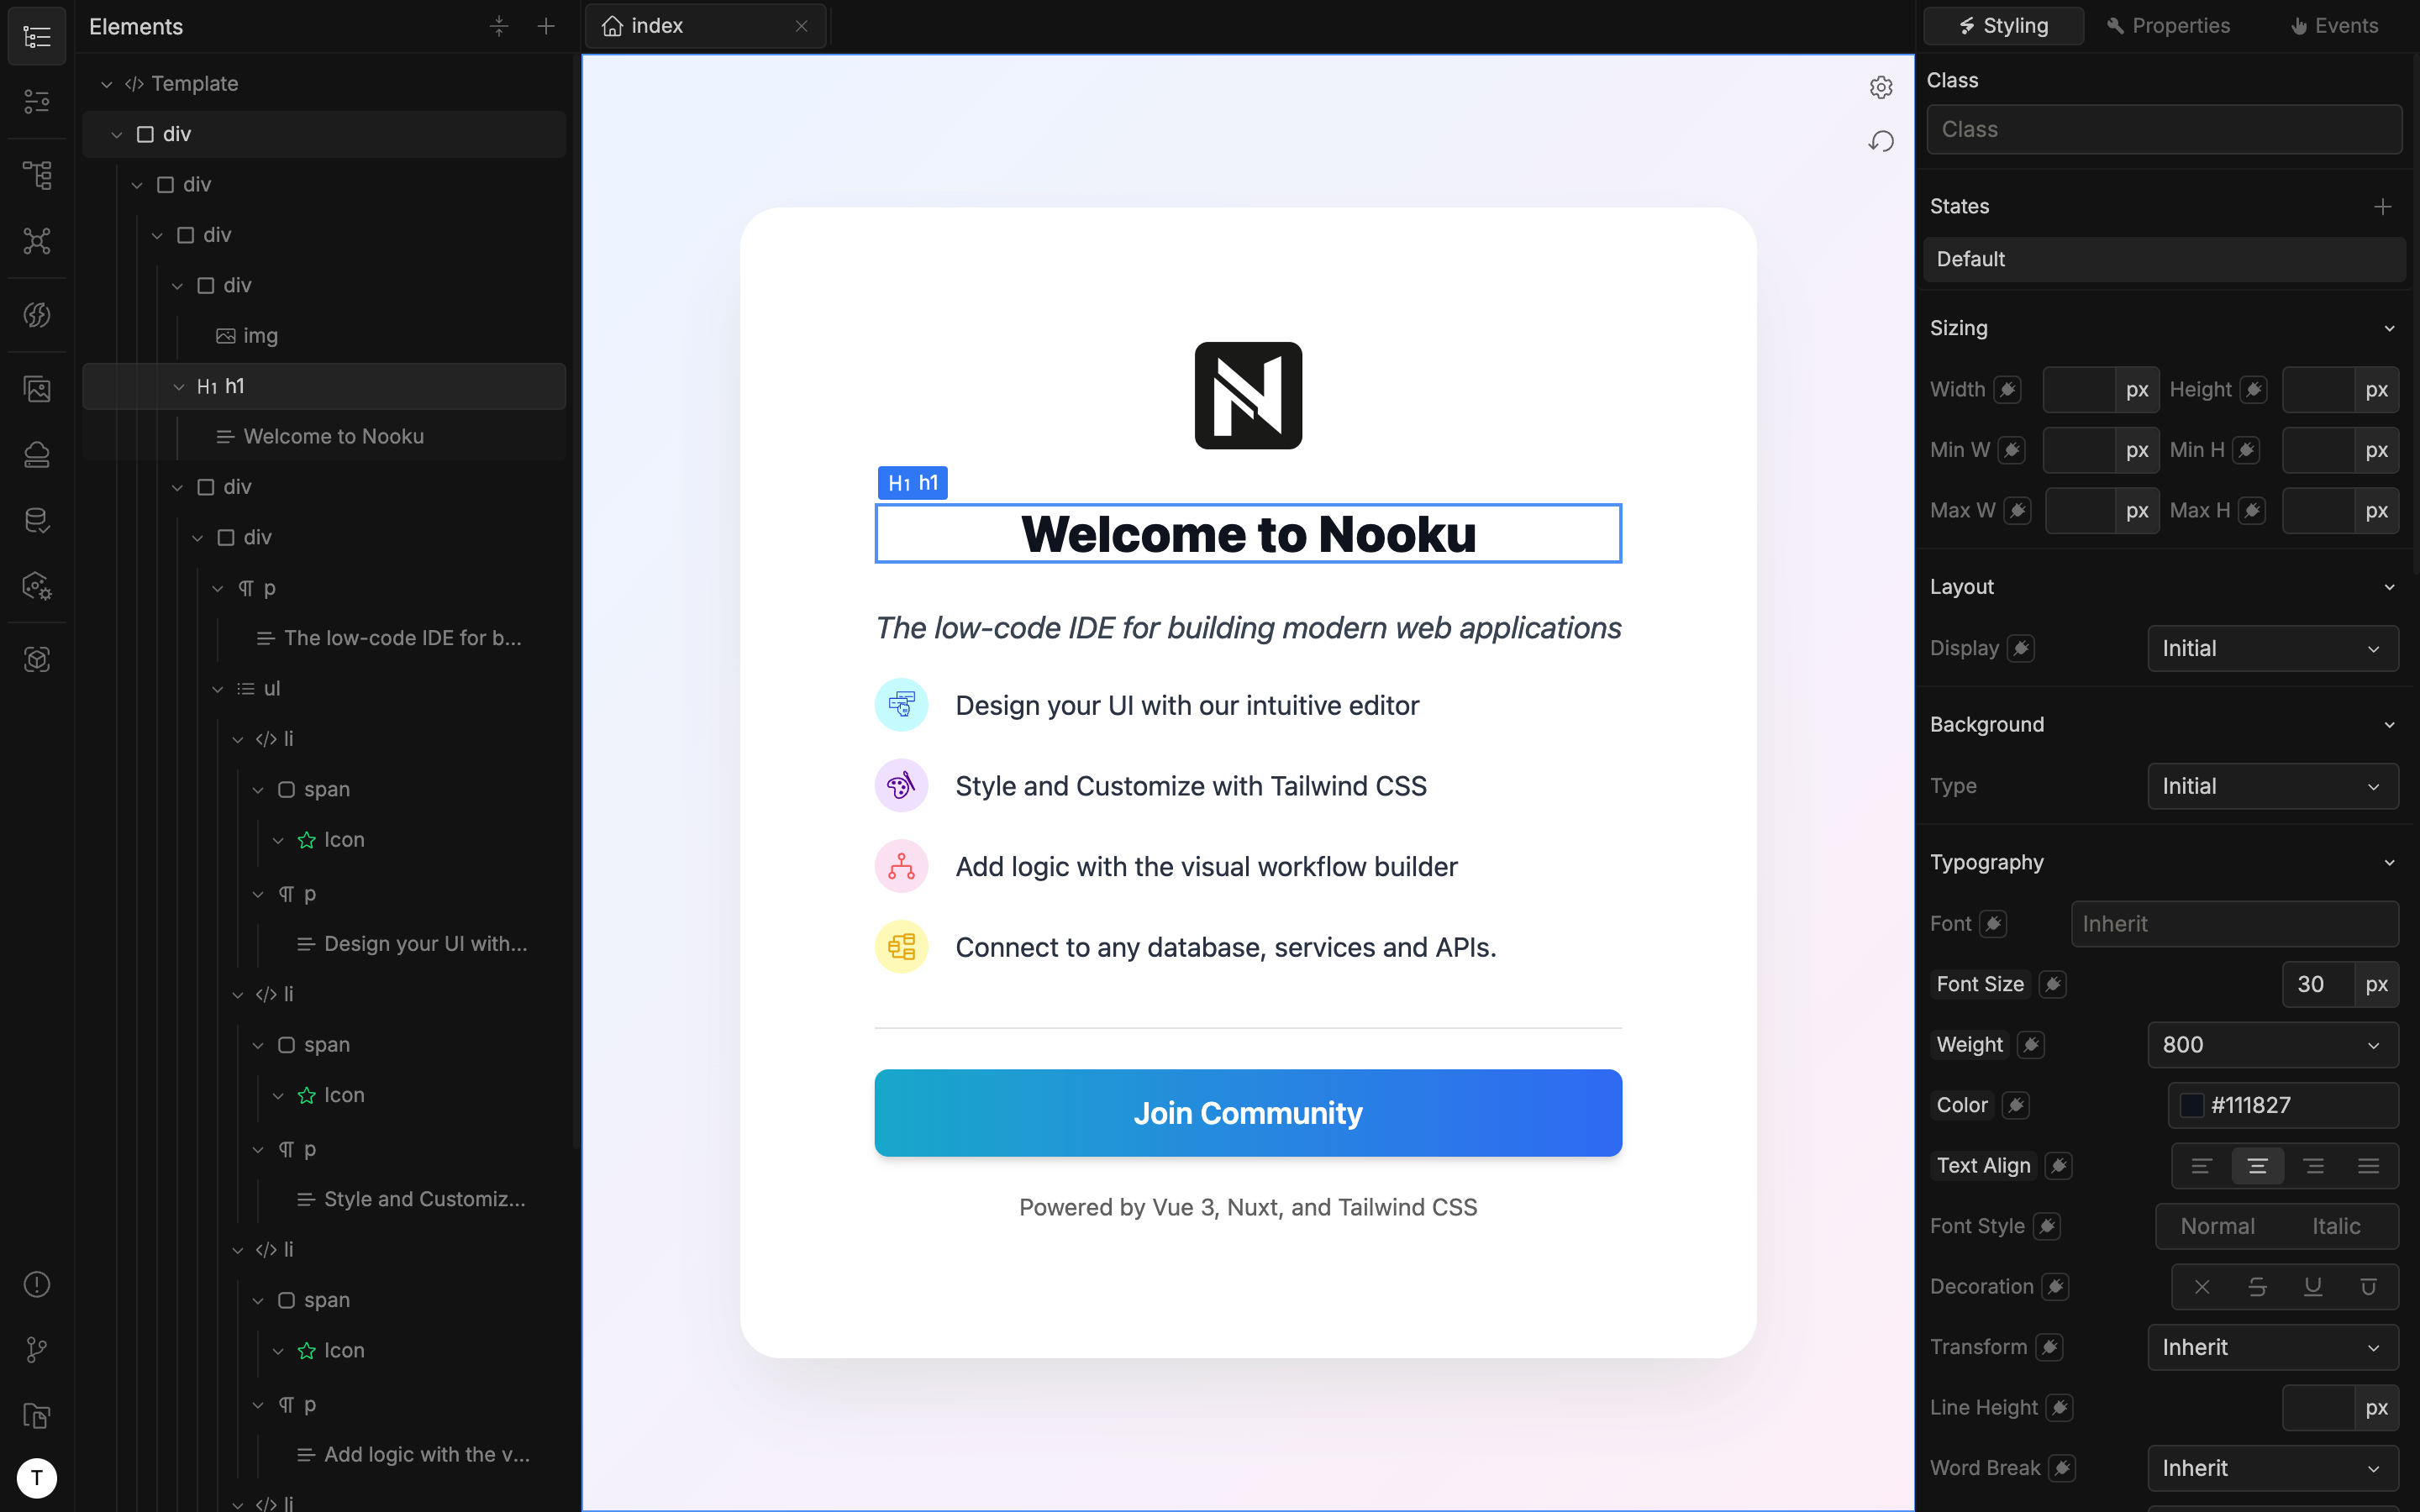 Once the installation is complete, your project’s homepage will load automatically in the editor. Now, you’re all set to begin building with Nooku!